Alfresco
About the ONLYOFFICE and Alfresco integration
ONLYOFFICE offers an official connector to integrate ONLYOFFICE Docs with Alfresco to create, edit, and convert office documents within the document library. You can download the ONLYOFFICE connector from the official Alfresco Add-ons directory or the ONLYOFFICE GitHub page.
Connecting ONLYOFFICE Docs to Alfresco Share
The latest compiled package files are available on GitHub. You need the onlyoffice-integration-repo.jar and the onlyoffice-integration-share.jar files.
Installing via compiled packages
-
Download compiled packages in the repo and share directories:
cd onlyoffice-alfresco/ mvn clean install -
Upload the compiled *.jar packages to directories accordingly for your Alfresco installation:
- from onlyoffice-alfresco/repo/target/ to the /webapps/alfresco/WEB-INF/lib/ for Alfresco repository.
- from onlyoffice-alfresco/share/target/ to /webapps/share/WEB-INF/lib/ for Share.
(Optional) Edit the alfresco-global.properties file to specify correct hostnames, open ports and protocols as Alfresco and Share are deployed as two separate services.
alfresco.host=<hostname> alfresco.port=443 alfresco.protocol=https share.host=<hostname> share.port=443 share.protocol=https-
Restart Alfresco.
sudo ./alfresco.sh stop sudo ./alfresco.sh start - Check if the module is present in the list at /share/page/console/admin-console/module-package.
Installing on Ubuntu
To start using ONLYOFFICE Docs with Alfresco, the following steps must be performed for Ubuntu 14.04:
-
Upload the compiled *.amp packages to directories accordingly for your Alfresco installation:
- from
onlyoffice-alfresco/repo/target/to/usr/local/tomcat/amps/for Alfresco repository, - from
onlyoffice-alfresco/share/target/to/usr/local/tomcat/amps_share/for Share.
- from
-
You can download the already compiled package files here and place
them to the respective directories.
Use the Module Management Tool (MMT) to install modules, run these commands:
- Alfresco
java -jar /usr/local/tomcat/alfresco-mmt/alfresco-mmt.jar install /usr/local/tomcat/amps/onlyoffice-integration-repo.amp /usr/local/tomcat/webapps/alfresco - Share
java -jar /usr/local/tomcat/alfresco-mmt/alfresco-mmt.jar install /usr/local/tomcat/amps_share/onlyoffice-integration-share.amp /usr/local/tomcat/webapps/share
More details about using MMT can be found in the Alfresco installation guide.
- Alfresco
-
Make sure that Document Server will be able to POST to Alfresco.
You may need to change these lines in alfresco-global.properties or you can set it using configuration page:
alfresco.host=alfresco.port=443 alfresco.protocol=https share.host= share.port=443 share.protocol=https Probably located here /usr/local/tomcat/shared/classes/alfresco-global.properties.
-
Restart Alfresco:
sudo ./alfresco.sh stop sudo ./alfresco.sh start
The module can be checked in administrator tools at /share/page/console/admin-console/module-package in Alfresco.
Configuring ONLYOFFICE and Alfresco module package
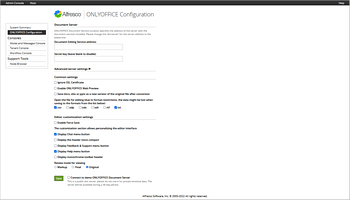
Go to Alfresco Administration Console. Open
http://<alfrescohost>/alfresco/s/onlyoffice/onlyoffice-config and specify the following
parameters.
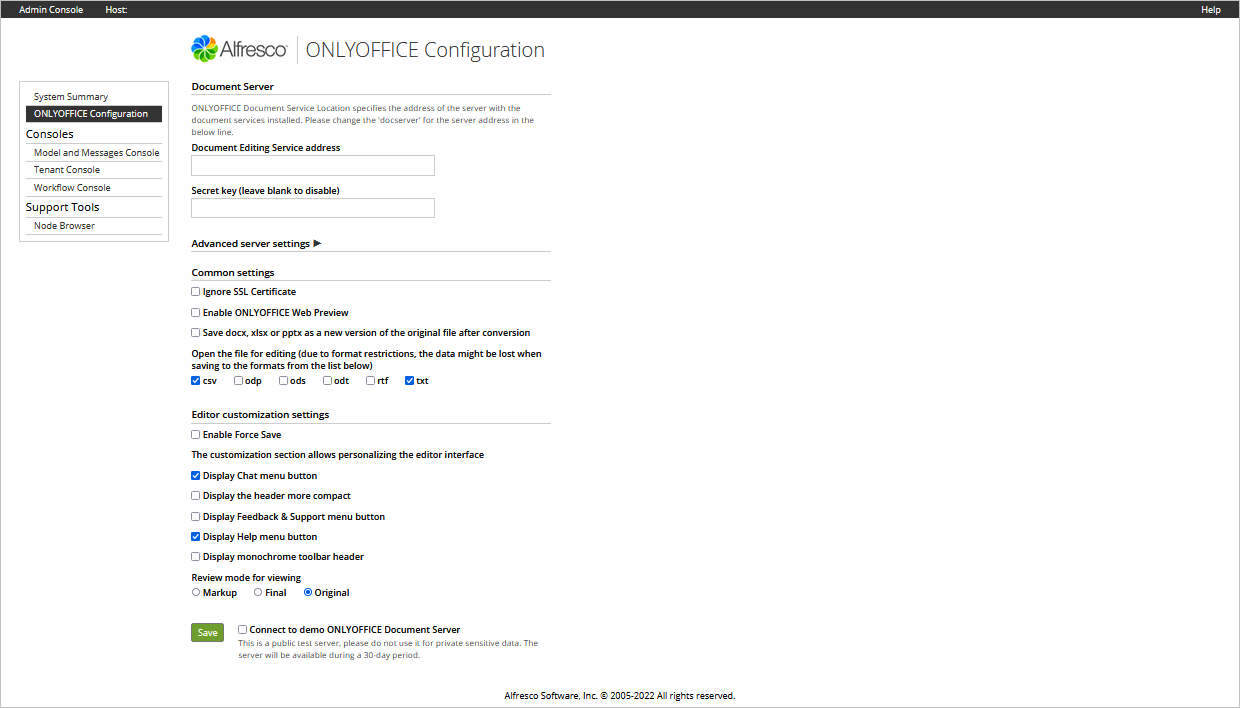
Document Server settings:
- Document Editing Service address - specify the URL address where the Document Editing Service is
installed.
Important The address of ONLYOFFICE Docs must be accessible from Alfresco, as well as the address of Alfresco must be accessible from ONLYOFFICE Docs.
- Secret Key - specify the secret used to sign the data.
Starting from ONLYOFFICE Docs v7.2, JWT is enabled by default and the secret key is generated automatically. You need to enable it on the Alfresco side as well: find your secret key in the ONLYOFFICE Docs configuration file, then specify the same secret key in the connector settings. For more details, see the Enabling JWT for the ONLYOFFICE and Alfresco integration section of this article.
Advanced server settings:
- Document Editing Service address for internal requests from the Alfresco server - specify the address that is used to access Document Editing Service from Alfresco server.
- Alfresco server address for internal requests from the Document Editing Service - specify the address that is used to access Alfresco server from Document Editing Service.
Common settings:
- Ignore SSL Certificate - turns SSL off.
- Enable Force Save - enables saving document changes directly to the Alfresco storage after clicking the Save button (if disabled, the document is saved in the document editor's cache until the document is closed).
- Save docx, xlsx, pptx as a new version of the original file after conversion - if disabled, a separate file will be created and placed in the same folder.
- Open the file for editing - allows administrators to choose the document formats to edit via conversion to OOXML formats.
To protect documents from unauthorized access, ONLYOFFICE editors use the JSON Web Token (JWT). The token is added in the configuration when the Document Editor is initialized and during the exchange of commands between inner ONLYOFFICE Docs services. The secret key is used to sign the JSON web token and validate the token upon the request to ONLYOFFICE Docs.
Starting from ONLYOFFICE Docs v7.2, JWT is enabled by default and the secret key is generated automatically. You need to find your secret key in the ONLYOFFICE Docs configuration file, then specify the same secret key in the connector settings.
Step 1: Find your secret key in the ONLYOFFICE Docs configuration file
-
Open the local.json file with any available text editor.
- For Linux -
/etc/onlyoffice/documentserver/local.json - For Windows -
%ProgramFiles%\ONLYOFFICE\DocumentServer\config\local.json -
For Docker - enter the ONLYOFFICE Docs container using the
docker exec -it <containerID> bashcommand and open/etc/onlyoffice/documentserver/local.jsonAlternatively, you can use the following command to find the default secret key without opening local.json:
sudo docker exec <containerID> /var/www/onlyoffice/documentserver/npm/json -f /etc/onlyoffice/documentserver/local.json 'services.CoAuthoring.secret.session.string'
The local.json file should look like this:
{"services": {"CoAuthoring": {"token": {"enable": {"request": {"inbox": true,"outbox": true},"browser": true}},"secret": {"inbox": {"string": "yoursecret"},"outbox": {"string": "yoursecret"},"session": {"string": "yoursecret"}}}}} - For Linux -
-
The
truevalue is specified in three sections. It means that token validation is enabled.services.CoAuthoring.token.enable.browserservices.CoAuthoring.token.enable.request.inboxservices.CoAuthoring.token.enable.request.outbox
-
The automatically generated secret key is specified in three sections. You can replace the default
secret value with your own secret key. The secret key must be the same in three sections.
services.CoAuthoring.secret.inbox.stringservices.CoAuthoring.secret.outbox.stringservices.CoAuthoring.secret.session.string
-
If you make changes, save them and restart the services for the config changes to take effect.
supervisorctl restart all
Step 2: Specify the same secret key in the connector settings
In the connector settings, specify the same secret in the Secret key field and save the settings.
Starting from ONLYOFFICE connector version 5.0.0, you can try ONLYOFFICE online editors within Alfresco without installing ONLYOFFICE Docs.
To turn the connection on, click the Connect to demo ONLYOFFICE Document Server checkbox and click the Save button.
Start using ONLYOFFICE Docs within Alfresco
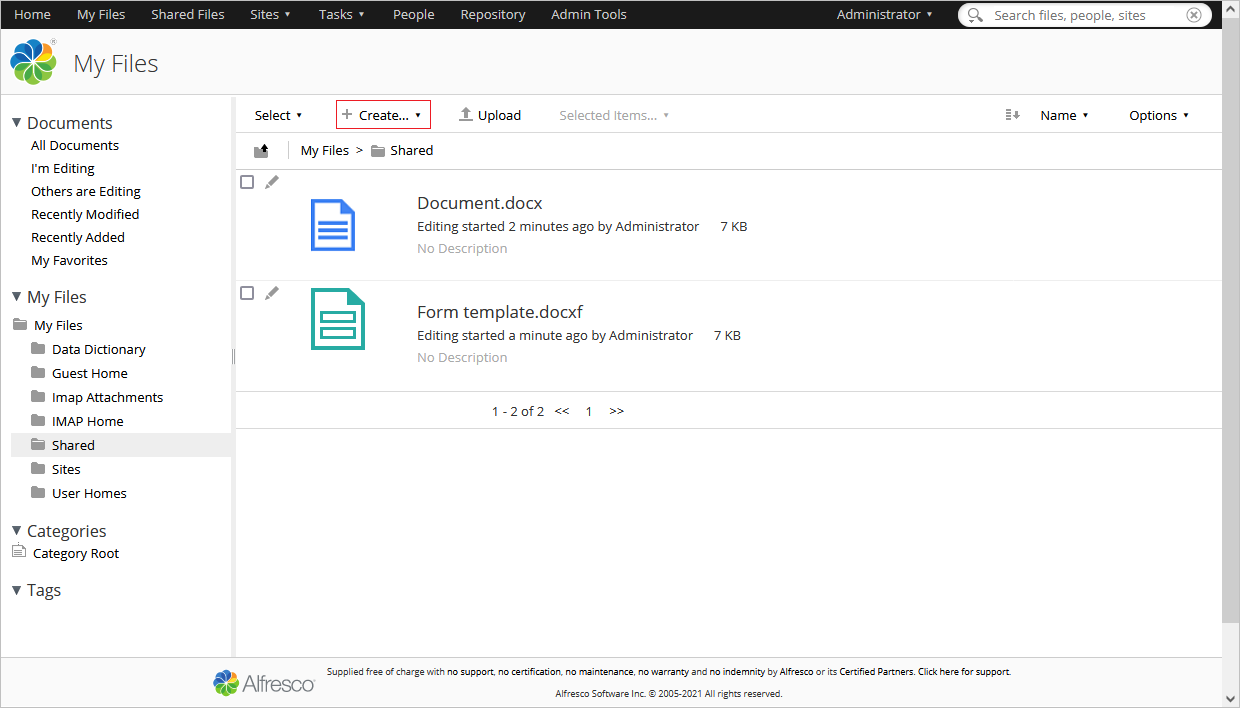
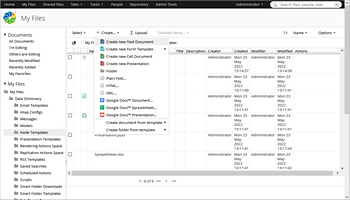
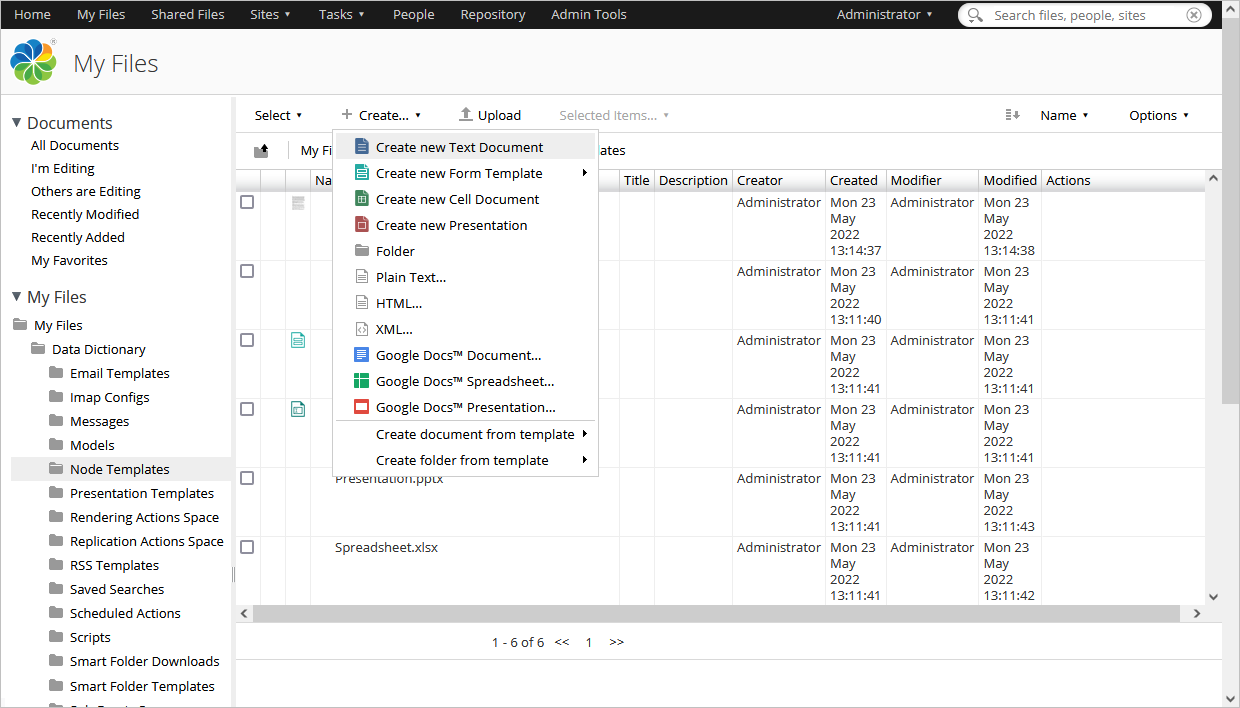
To create a document:
- Open the folder where you want to create a document.
- Click the Create... button.
- Choose the file type you want to create: Document, Spreadsheet or Presentation.
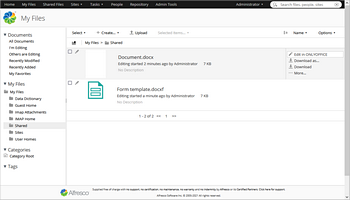
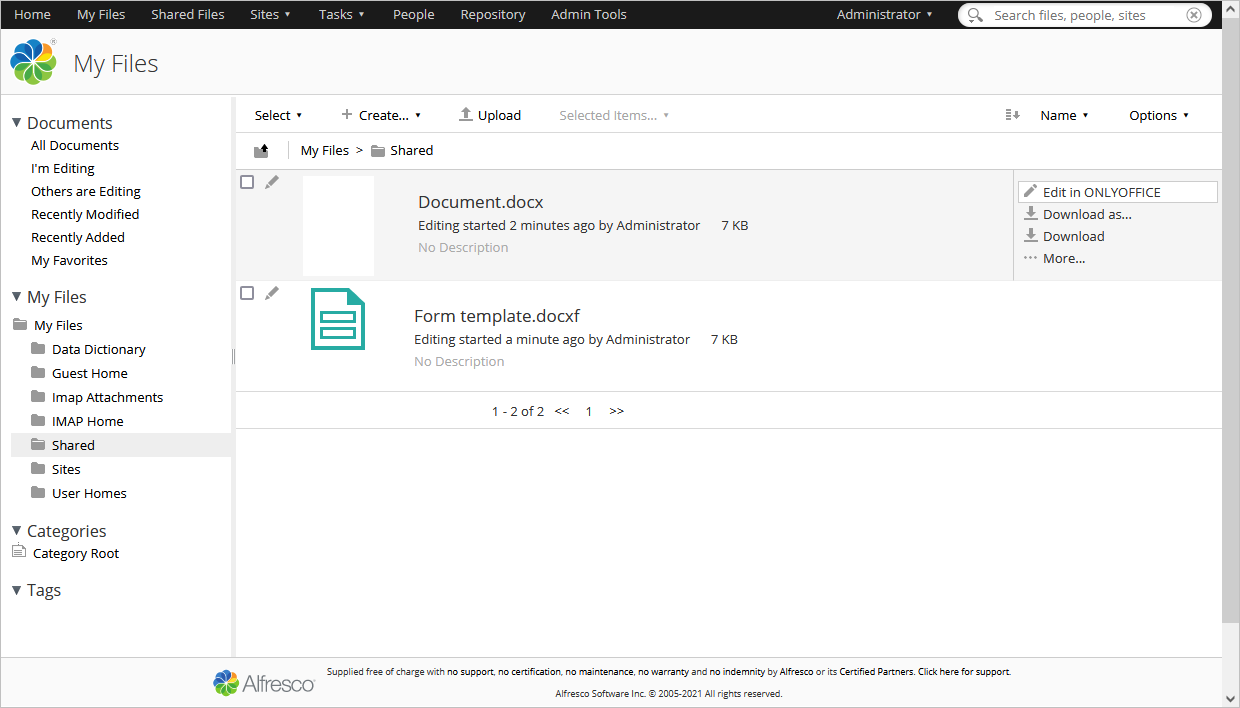
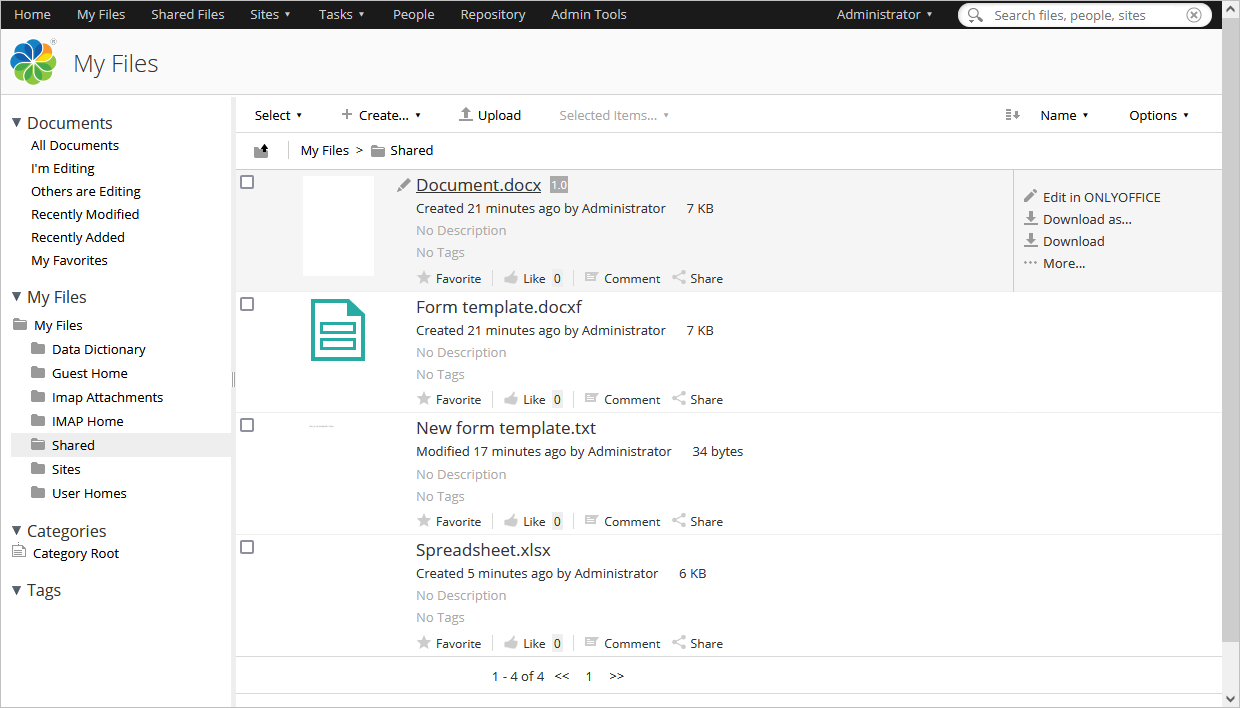
To edit or view a document:
- Find the required document.
- Click the Edit in ONLYOFFICE button.
To convert a non-XML document into XML format (DOCX, XLSX or PPTX):
- Find the required document.
- Click the Convert using ONLYOFFICE button.
The document will be automatically converted into its XML analog. Resulting files are placed in the same folder. You can also configure automatic converting rules for a folder. For more information about the rule configuration, please read the official Alfresco documentation.


To download the file in a preferred format:
- Find the required file.
- Click the Download as... button and choose the format you need.
To see the history of file changes:
- Click the file name or its icon to open the file details tab.
- Find the Version History tab in the right panel.
- The available sections are: Latest Version and Older Versions. The changes made to the file will be highlighted.
- To upload a new version, click the corresponding icon in the top right corner.
- To quickly see the current file version, hover the mouse pointer over the file. The version number will
be displayed to the right of the file name, e.g.
 .
.

or
- Go to the File tab in the editor.
- Choose the Version History option in the menu.
To create a new file right in the Document Editor:
- Open the File tab.
- Click the Create New option.
A new .docx file will be opened in a new tab.
To create custom templates:
- Log in to your Alfresco portal as administrator who created it.
- Go to My files -> Data Dictionary -> Node Templates.
- Add custom templates in the available formats:
.docx,.xlsx,.pptx.
To create documents from templates:
- Open the folder where you want to create a document.
- Click the Create... button.
-
Select the Create document from template option and choose one of the available templates.


or
- In the editor, go to the File tab.
- Click the Create New... option.
-
Choose the required template.


To learn how to compare files from storage, please follow the instructions from this article.


To learn how to use mail merge from storage, please follow the instructions from this article.


To learn how to insert images from storage, please follow the instructions from this article.


To learn how to mark the document as favorite right in the Document Editor, please follow the instructions from this article.

