- Home
- Connectors
- Chamilo
Chamilo
About the ONLYOFFICE and Chamilo integration
ONLYOFFICE offers an official connector to integrate ONLYOFFICE Docs with Chamilo and edit office documents within the document library. You can download the ONLYOFFICE connector from the GitHub page.
To learn more about how the ONLYOFFICE connector for Chamilo works, please visit our API documentation.
Main features
- Editing and viewing text documents, spreadsheets, and presentations.
- Co-editing documents in real-time: two co-editing modes (Fast and Strict), the Track Changes mode, comments, and the built-in chat.
- JWT support to secure your traffic so that no one can have access to your documents with the exception of the users with proper rights.
Supported formats
- For editing: DOCX, XLSX, PPTX, PPSX, PDF form
- For viewing only: PDF, DJVU, TXT, CSV, ODT, ODS, ODP, DOC, XLS, PPT, PPS, EPUB, RTF, HTML, HTM, MHT, XPS
What's new in version 1.5.0
Added
- Learning path support
Changed
- Minor fixes
The full change log is available here.
Connecting ONLYOFFICE Docs to Chamilo
Requirements
-
ONLYOFFICE Document Server v6.2 (server or cloud version) or later
You need an instance of ONLYOFFICE Docs that is resolvable and connectable both from Chamilo and any end clients. It must be able to POST to Chamilo directly.
Please refer to the official documentation page to learn more about installing ONLYOFFICE Docs. - Chamilo v1.11.14 or later
Installing the ONLYOFFICE connector for Chamilo
Starting from Chamilo v1.11.16, the ONLYOFFICE connector is pre-installed. To enable it, perform the following steps:
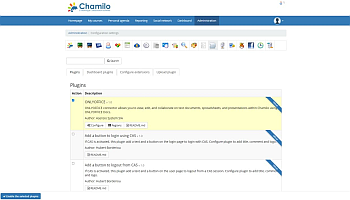
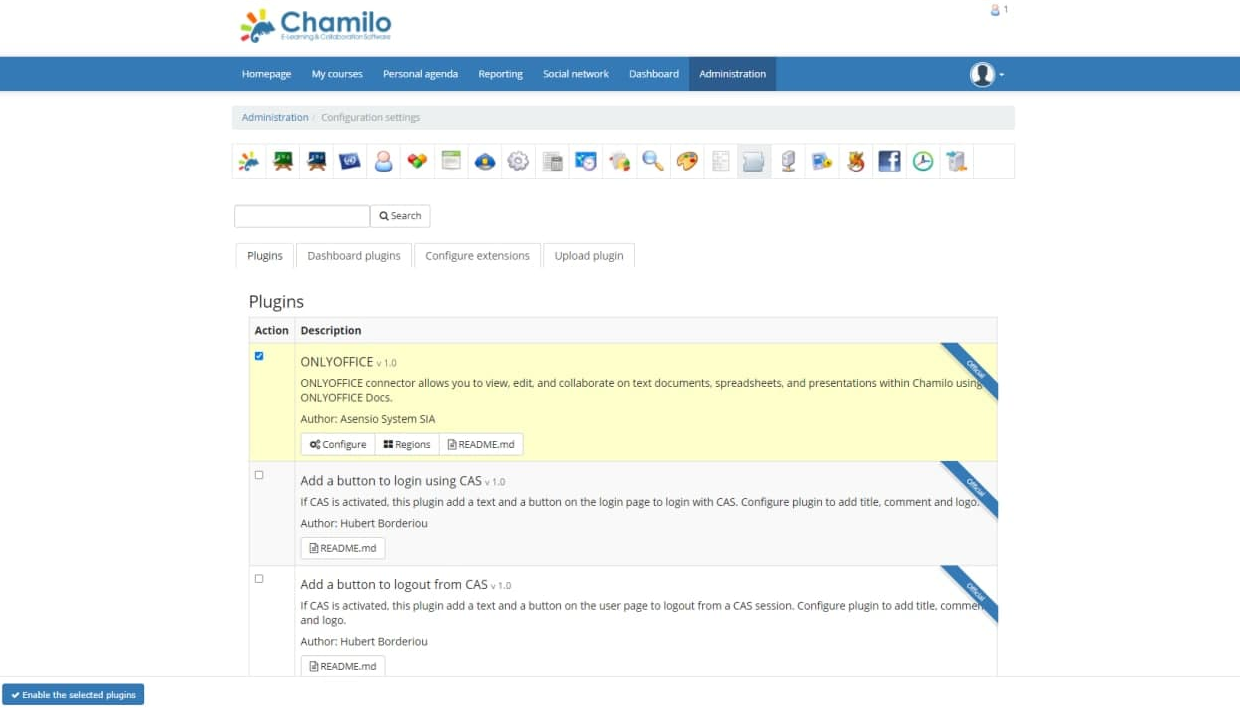
- Go to the Chamilo Administration page and choose the Plugins section in the Portal block.
- In the plugin list, select the ONLYOFFICE plugin and click the Enable the selected plugins button.


If your Chamilo version is lower than 1.11.16, please follow these instructions to install the ONLYOFFICE connector:
- Download the connector from the GitHub page.
- Go to Chamilo Administration, choose Plugins and click the Upload plugin button.
- Upload the onlyoffice.zip file. You will see the plugin list.
- Launch composer install using the terminal from the Chamilo root folder.
- Return to the plugin list, select the ONLYOFFICE plugin, and click Enable.
Updating the ONLYOFFICE connector for Chamilo
To update the connector to the latest version, you need to replace the pre-installed default plugin folder with the newly collected plugin.
Step 1: Prepare the folder with the new version of the connector.
-
You can download it from the GitHub page and unpack the archive:
cd /tmp && wget https://github.com/ONLYOFFICE/onlyoffice-chamilo/releases/download/vX.X.X/onlyoffice.zip
Where vX.X.X is the necessary connector version.
unzip onlyoffice.zip
-
Alternatively, you can collect the connector:
-
Get the latest version of this repository running the command:
git clone https://github.com/ONLYOFFICE/onlyoffice-chamilo cd onlyoffice-chamilo
-
Get a submodule:
git submodule update --init --recursive
-
Collect all files:
mkdir /tmp/onlyoffice-deploy mkdir /tmp/onlyoffice-deploy/onlyoffice cp -r ./ /tmp/onlyoffice-deploy/onlyoffice cd /tmp/onlyoffice-deploy/onlyoffice rm -rf ./.git* rm -rf */.git*
-
Get the latest version of this repository running the command:
Step 2: Remove the old connector folder.
- Open the terminal in the root folder.
-
Remove the folder using the following command:
rm -rf /var/www/html/chamilo-x.x.x/plugin/onlyoffice
Where
chamilo-x.x.x
is your Chamilo version.
Step 3: Move the new connector folder to the chamilo-x.x.x/plugin/
directory.
- Open the terminal in the root folder.
-
Move the folder using the following commands:
cp -r /tmp/onlyoffice-deploy/onlyoffice /var/www/html/chamilo-x.x.x/plugin/
Where
chamilo-x.x.x
is your Chamilo version.
Configuring the ONLYOFFICE connector for Chamilo
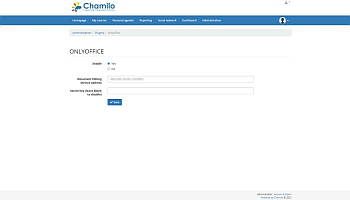
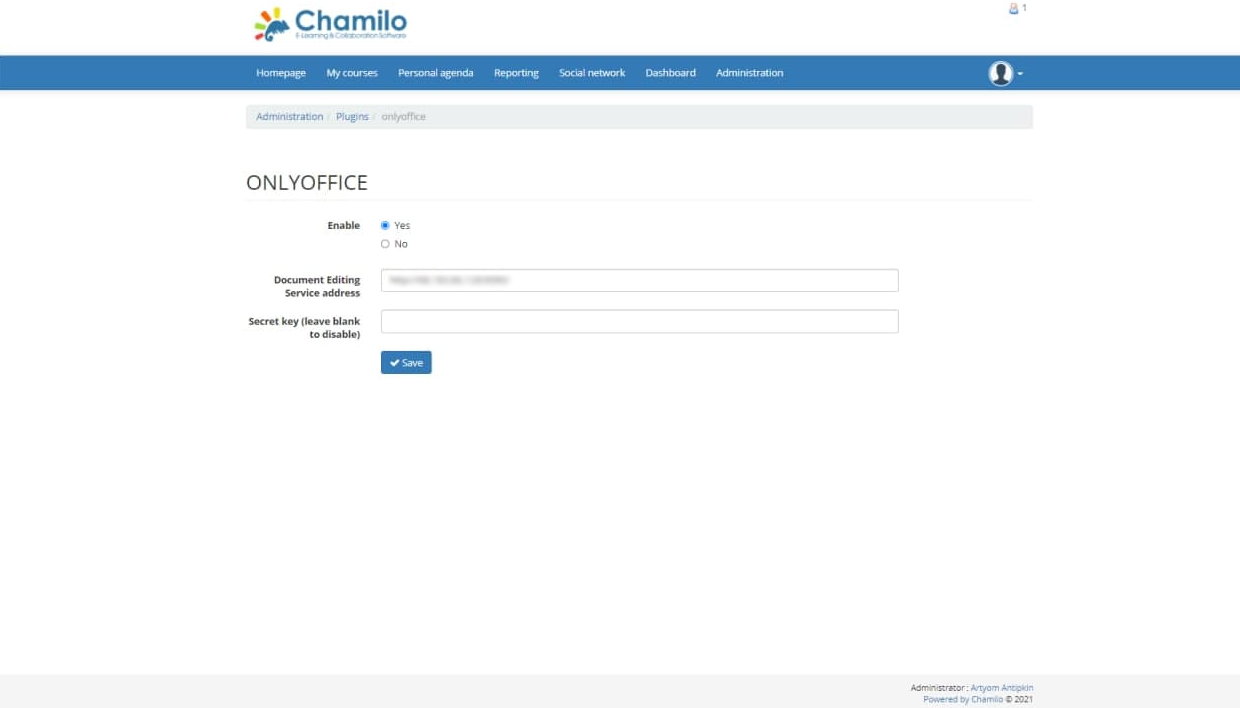
On the Plugins page, find ONLYOFFICE and click Configure. You'll see the Settings page where you can configure the following parameters:
-
Enter the address that is used to access Document Editing Service from Chamilo into the Document
Editing Service address field.
Important The address of ONLYOFFICE Docs must be accessible from Chamilo, as well as the address of Chamilo must be accessible from ONLYOFFICE Docs.
-
Specify the secret used to sign the data in the Secret Key field.
Starting from ONLYOFFICE Docs v7.2, JWT is enabled by default and the secret key is generated automatically. You need to enable it on the Chamilo side as well: find your secret key in the ONLYOFFICE Docs configuration file, then specify the same secret key in the connector settings. For more details, see the Enabling JWT for the ONLYOFFICE and Chamilo integration section of this article.


How it works
The ONLYOFFICE integration follows the API documented here.
- To create a new file, the teacher opens the necessary folder and clicks the Create new ONLYOFFICE icon.
- The user is redirected to the file creation page where they need to enter the file name and format (text document, spreadsheet, or presentation). The browser calls the /plugin/onlyoffice/create.php method. It adds a copy of an empty file to the course folder.
- To open an existing file, the user chooses the Open with ONLYOFFICE icon.
-
The request is sent to /plugin/onlyoffice/editor.php?docId="document identificator". The server
processes the request, generates the editor initialization configuration with the following properties:
- url - the URL that ONLYOFFICE Docs uses to download the document;
- callbackUrl - the URL that ONLYOFFICE Docs uses to inform about the status of document editing;
- documentServerUrl - the URL that the client needs to respond to ONLYOFFICE Docs (can be set at the administrative settings page);
- key - the etag to instruct ONLYOFFICE Docs whether to download the document again or not.
- The server returns a page with a script to open the editor.
- The browser opens this page and loads the editor.
- The browser makes a request to ONLYOFFICE Docs and passes the document configuration to it.
- ONLYOFFICE Docs loads the document and the user starts editing.
- ONLYOFFICE Docs sends a POST request to callbackUrl to inform Chamilo that the user is editing the document.
- When all the users have finished editing, they close the editor window.
- After 10 seconds, ONLYOFFICE Docs makes a POST request to callbackUrl to notify that the editing session has ended and sends a link to a new document version.
- Chamilo loads a new version of the document and overwrites the file.
Enabling JWT for the ONLYOFFICE and Chamilo integration
To protect documents from unauthorized access, ONLYOFFICE editors use the JSON Web Token (JWT). The token is added in the configuration when the Document Editor is initialized and during the exchange of commands between inner ONLYOFFICE Docs services. The secret key is used to sign the JSON web token and validate the token upon the request to ONLYOFFICE Docs.
Starting from ONLYOFFICE Docs v7.2, JWT is enabled by default and the secret key is generated automatically. You need to find your secret key in the ONLYOFFICE Docs configuration file, then specify the same secret key in the connector settings.
Step 1: Find your secret key in the ONLYOFFICE Docs configuration file
-
Open the local.json file with any available text editor.
- For Linux -
/etc/onlyoffice/documentserver/local.json
- For Windows -
%ProgramFiles%\ONLYOFFICE\DocumentServer\config\local.json
-
For Docker – enter the ONLYOFFICE Docs container using the
docker exec -it <containerID> bash
command and open/etc/onlyoffice/documentserver/local.json
Alternatively, you can use the following command to find the default secret key without opening local.json:
sudo docker exec <containerID> /var/www/onlyoffice/documentserver/npm/json -f /etc/onlyoffice/documentserver/local.json 'services.CoAuthoring.secret.session.string'
The local.json file should look like this:
{"services": {"CoAuthoring": {"token": {"enable": {"request": {"inbox": true,"outbox": true},"browser": true}},"secret": {"inbox": {"string": "yoursecret"},"outbox": {"string": "yoursecret"},"session": {"string": "yoursecret"}}}}}
- For Linux -
-
The
true
value is specified in three sections. It means that token validation is enabled.services.CoAuthoring.token.enable.browser
services.CoAuthoring.token.enable.request.inbox
services.CoAuthoring.token.enable.request.outbox
-
The automatically generated secret key is specified in three sections. You can replace the default
secret value with your own secret key. The secret key must be the same in three sections.
services.CoAuthoring.secret.inbox.string
services.CoAuthoring.secret.outbox.string
services.CoAuthoring.secret.session.string
-
If you make changes, save them and restart the services for the config changes to take effect.
supervisorctl restart all
Step 2: Specify the same secret key in the connector settings
In the connector settings, specify the same secret in the Secret key field and save the settings.
Disabling the ONLYOFFICE connector for Chamilo
If you need to disable the ONLYOFFICE connector:
- On the Plugins page, find ONLYOFFICE and click Configure.
- Tick the No checkbox in the Enable section.
Start using ONLYOFFICE Docs within Chamilo
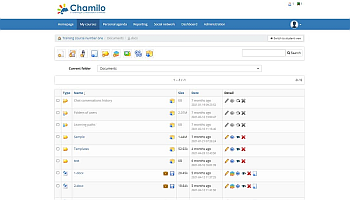
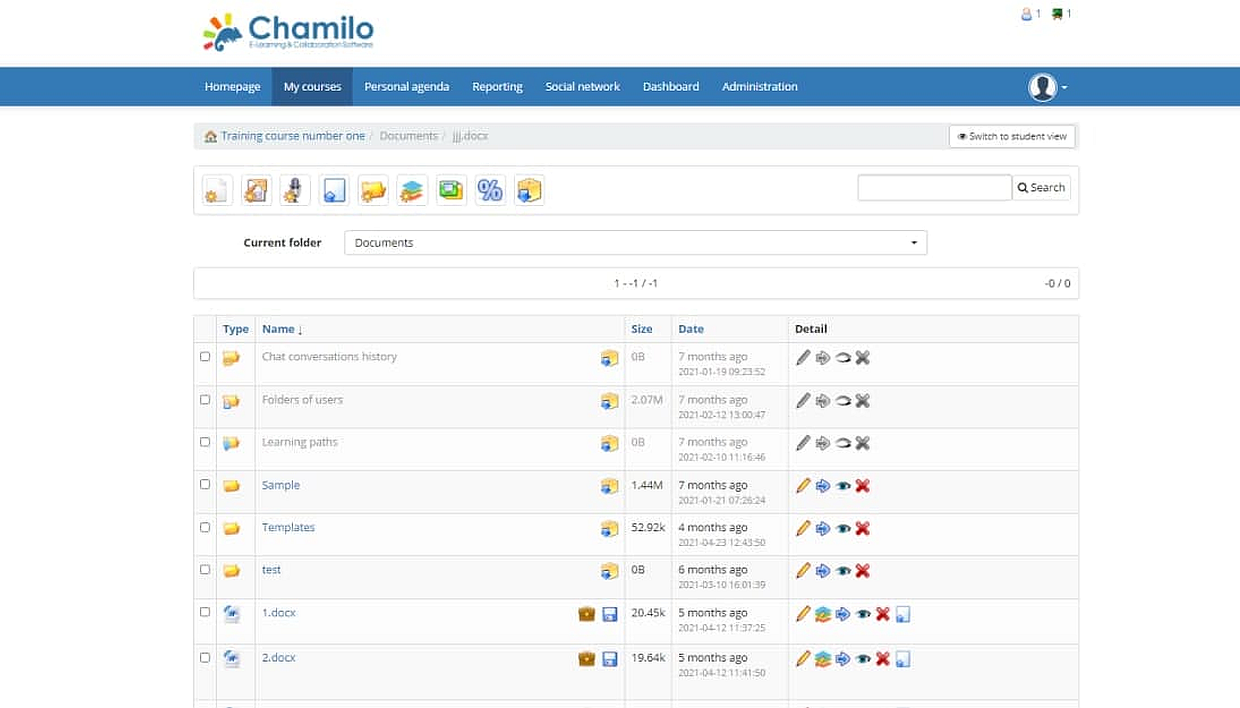
To open a document for editing with the ONLYOFFICE Docs editors:
- Open the folder with the needed file.
-
Click the
Edit in ONLYOFFICE icon to open the file in the editor for editing.
The document will be opened in the ONLYOFFICE Docs editor.


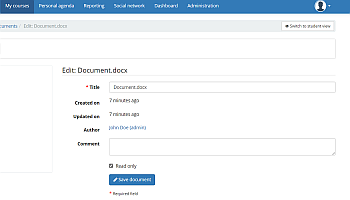
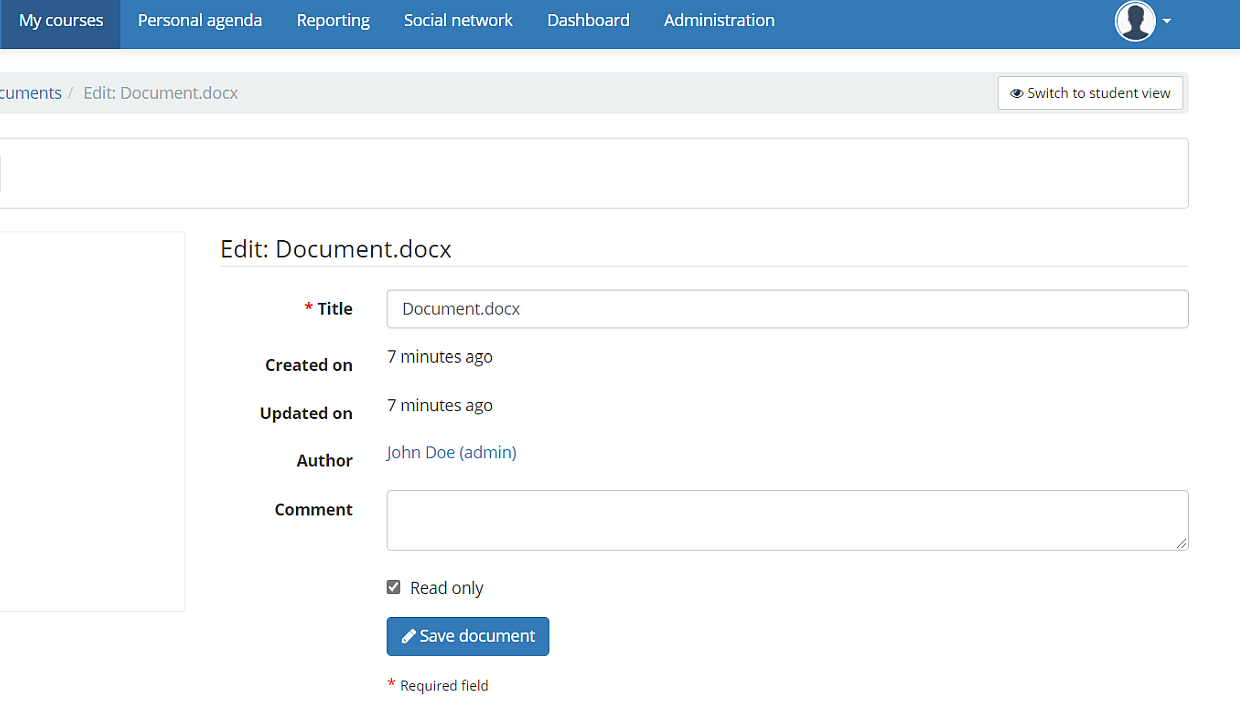
To change the document permission to read-only:
- Find the needed document.
-
Click the
Edit icon.
- On the opened page, select the Read only checkbox.
- Click the Save document button.

