- Home
- Connectors
- Liferay
Liferay
About the ONLYOFFICE and Liferay integration
ONLYOFFICE offers an official connector to integrate ONLYOFFICE Docs with Liferay and edit office documents inside Liferay Document and Media Library. You can download the ONLYOFFICE connector from the Liferay Marketplace or from the GitHub page. The connector is distributed under the Apache license.
Main features
- Creating files using the Create with ONLYOFFICE menu option.
- Creating and filling out online forms.
- Viewing and editing existing text documents, spreadsheets, or presentations using the ONLYOFFICE Edit/View menu option within the Documents and Media section.
- Co-editing documents in real-time: two co-editing modes (Fast and Strict), Track Changes, comments, and the built-in chat.
- JWT support to secure your traffic so that no one can have access to your documents with the exception of the users with proper rights.
Supported formats
- For creating, editing and viewing: DOCX, PPTX, XLSX, DOCXF
- For filling out forms: PDF
- For conversion to Office Open XML: ODT, DOC, RTF, TXT, ODP, PPT, ODS, XLS, CSV
- For viewing only: ODT, ODS, ODP, DOC, XLS, PPT, PDF
What's new in version 3.0.0
Added
- Editing PDF
- Added shardkey parameter
- Added droping users from the editor on document unlock
- Added a preview for all the types supported for viewing
Changed
- Migration to maven build
- Creating PDF instead DOCXF
- Create OFORM option removed from DOCXF fromats
- The core of the plugin has been moved to com.onlyoffice.docs-integration-sdk (https://github.com/ONLYOFFICE/docs-integration-sdk-java)
- The address of the convert service has ben changed into /converter instead of /ConvertService.ashx
- The default token lifetime has been changed to 5 minutes
- Changed the default empty file templates
The full change log is available here.
Connecting ONLYOFFICE Docs to Liferay
Requirements
-
ONLYOFFICE Document Server v6.1.0 (server or cloud version) or later
You need an instance of ONLYOFFICE Docs that is resolvable and connectable both from Liferay and any end clients. It must be able to POST to Liferay directly.
Please refer to the official documentation page to learn more about installing ONLYOFFICE Docs. - Liferay CE Portal 7.2 GA1+, Liferay DXP 7.2 GA1+, Liferay CE Portal 7.3 GA1+, Liferay DXP 7.3 GA1+, Liferay CE Portal 7.4 GA1+, Liferay CE 7.4 GA44 - GA73, Liferay DXP 7.4 U44 - U73
- ONLYOFFICE Connector v2.2.0 for Liferay
Installing the ONLYOFFICE Connector for Liferay
You can install the ONLYOFFICE connector using the App Manager or from the official Liferay App Store.
To install it using the App Manager:
- Navigate to Control Panel > Apps > App Manager.
- Click the
Options button.
- Click the Upload button.
- In the opened window, choose the ONLYOFFICE application file.
To install the connector from the App Store:
- Navigate to Control Panel > Apps > Store.
- Sign in with your Liferay account.
- Search the ONLYOFFICE Connector for Liferay.
- Purchase the application (it is free).
When the installation is completed, the application is ready for use.
If you are building the connector by yourself, simply put compiled .jar file from build\libs folder to /opt/liferay/deploy. Liferay will install it automatically.
Compiling ONLYOFFICE Connector for Liferay
Simply run gradle build. Output .jar will be placed inside the build/libs directory.
Configuring the ONLYOFFICE connector for Liferay
Go to Control Panel > Configuration > System Settings. In the Platform section, choose the Connectors category and select ONLYOFFICE.


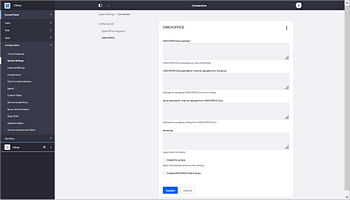
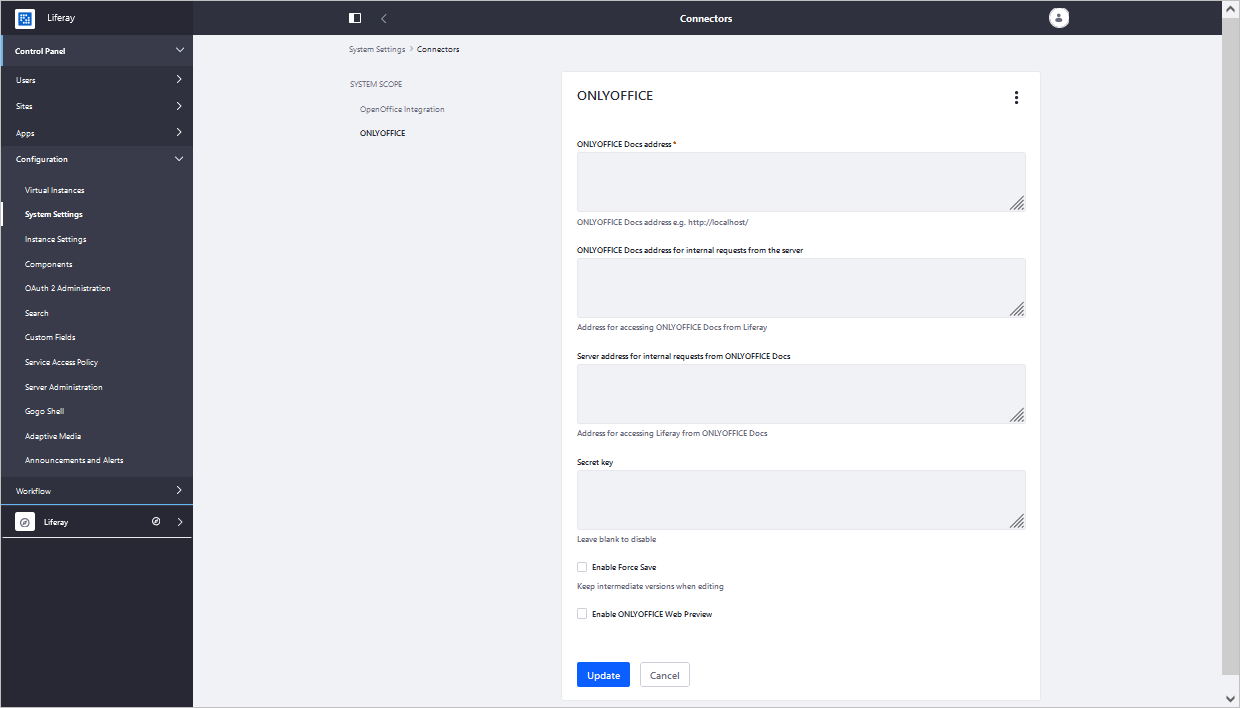
Here you can configure the following settings:
- ONLYOFFICE Docs address - specify the URL address where Document Editing Service is
installed.
The address of ONLYOFFICE Docs must be accessible from Liferay, as well as the address of Liferay must be accessible from ONLYOFFICE Docs.
- ONLYOFFICE Docs address for internal requests from the server - specify the address that is used to access Document Editing Service from Liferay.
- Server address for internal requests from ONLYOFFICE Docs - specify the address that is used to access Liferay from Document Editing Service.
- Secret key - specify the secret used to sign the data.
Starting from ONLYOFFICE Docs v7.2, JWT is enabled by default and the secret key is generated automatically. You need to enable it on the Liferay side as well: find your secret key in the ONLYOFFICE Docs configuration file, then specify the same secret key in the connector settings. For more details, see the Enabling JWT for the ONLYOFFICE and Liferay integration section of this article.
- Enable Force Save - activate the checkbox to keep intermediate document versions when editing.
- Enable ONLYOFFICE Web Preview - activate the checkbox to enable file preview.
After configuring the integration application, click the Save button to apply the changes.
How it works
The ONLYOFFICE integration follows the API documented here.
- User navigates to the Documents and Media section within Liferay and selects the Edit in ONLYOFFICE action.
- Liferay prepares a JSON object for the Document Server with the following properties:
- url: the URL that ONLYOFFICE Docs uses to download the document;
- callbackUrl: the URL that ONLYOFFICE Docs uses to inform about status of the document editing;
- key: the fileVersionId to instruct ONLYOFFICE Docs whether to download the document again or not;
- title: the document title (name).
- The client browser makes a request to the JavaScript library from ONLYOFFICE Docs and sends ONLYOFFICE Docs the DocEditor configuration with the above properties.
- Then ONLYOFFICE Docs downloads the document from Liferay and the user begins editing.
- ONLYOFFICE Docs sends a POST request to callbackUrl to inform Liferay that a user is editing the document.
- Liferay locks the document, but still allows other users with write access to collaborate in real time with ONLYOFFICE Docs by leaving the Action present.
- When all users and client browsers are done with editing, they close the editing window.
- After 10 seconds of inactivity, ONLYOFFICE Docs sends a POST to callbackUrl letting Liferay know that the clients have finished editing the document and closed it.
- Liferay downloads a new version of the document, replacing the old one.
Enabling JWT for the ONLYOFFICE and Liferay integration
To protect documents from unauthorized access, ONLYOFFICE editors use the JSON Web Token (JWT). The token is added in the configuration when the Document Editor is initialized and during the exchange of commands between inner ONLYOFFICE Docs services. The secret key is used to sign the JSON web token and validate the token upon the request to ONLYOFFICE Docs.
Starting from ONLYOFFICE Docs v7.2, JWT is enabled by default and the secret key is generated automatically. You need to find your secret key in the ONLYOFFICE Docs configuration file, then specify the same secret key in the connector settings.
Step 1: Find your secret key in the ONLYOFFICE Docs configuration file
-
Open the local.json file with any available text editor.
- For Linux -
/etc/onlyoffice/documentserver/local.json
- For Windows -
%ProgramFiles%\ONLYOFFICE\DocumentServer\config\local.json
-
For Docker – enter the ONLYOFFICE Docs container using the
docker exec -it <containerID> bash
command and open/etc/onlyoffice/documentserver/local.json
Alternatively, you can use the following command to find the default secret key without opening local.json:
sudo docker exec <containerID> /var/www/onlyoffice/documentserver/npm/json -f /etc/onlyoffice/documentserver/local.json 'services.CoAuthoring.secret.session.string'
The local.json file should look like this:
{"services": {"CoAuthoring": {"token": {"enable": {"request": {"inbox": true,"outbox": true},"browser": true}},"secret": {"inbox": {"string": "yoursecret"},"outbox": {"string": "yoursecret"},"session": {"string": "yoursecret"}}}}}
- For Linux -
-
The
true
value is specified in three sections. It means that token validation is enabled.services.CoAuthoring.token.enable.browser
services.CoAuthoring.token.enable.request.inbox
services.CoAuthoring.token.enable.request.outbox
-
The automatically generated secret key is specified in three sections. You can replace the default
secret value with your own secret key. The secret key must be the same in three sections.
services.CoAuthoring.secret.inbox.string
services.CoAuthoring.secret.outbox.string
services.CoAuthoring.secret.session.string
-
If you make changes, save them and restart the services for the config changes to take effect.
supervisorctl restart all
Step 2: Specify the same secret key in the connector settings
In the connector settings, specify the same secret in the Secret key field and save the settings.
Start using ONLYOFFICE Docs within Liferay
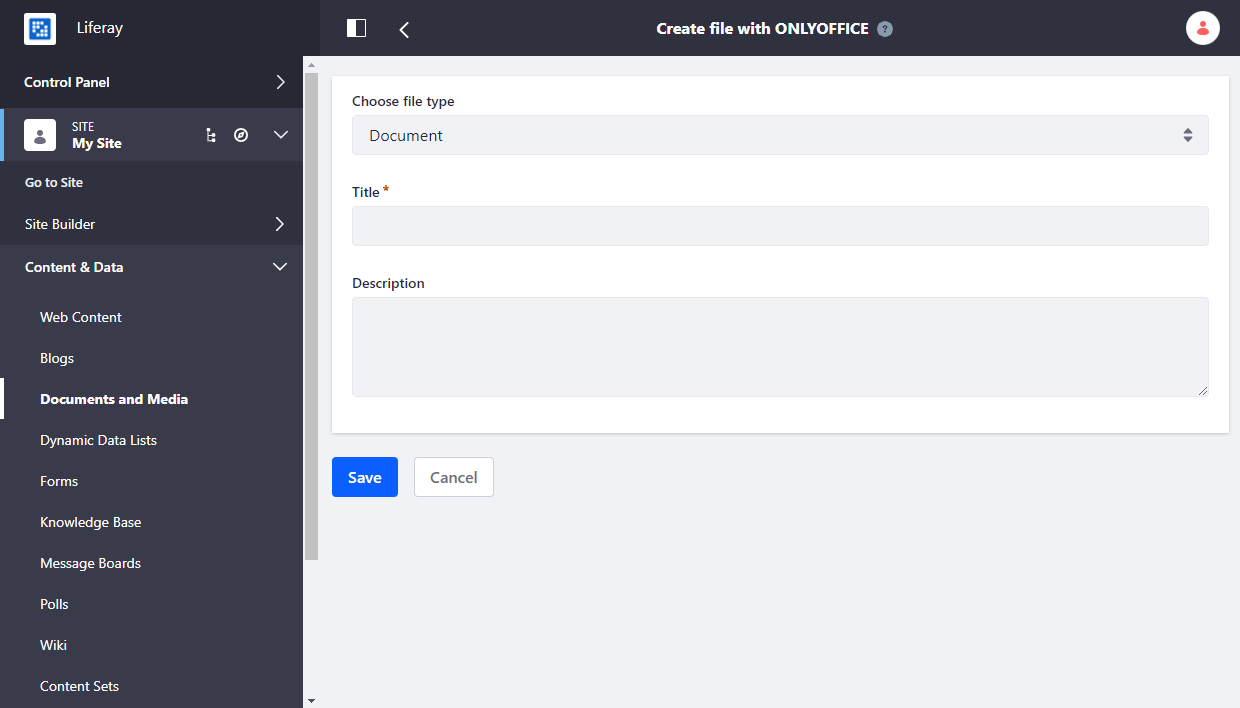
To create a file:
- Go to the Documents and Media section.
- Click the
Add File button.
-
In the opened menu, click the Create with ONLYOFFICE button.
- On the opened page, choose the file type, specify its title and description (optionally).
- Click the Save button.
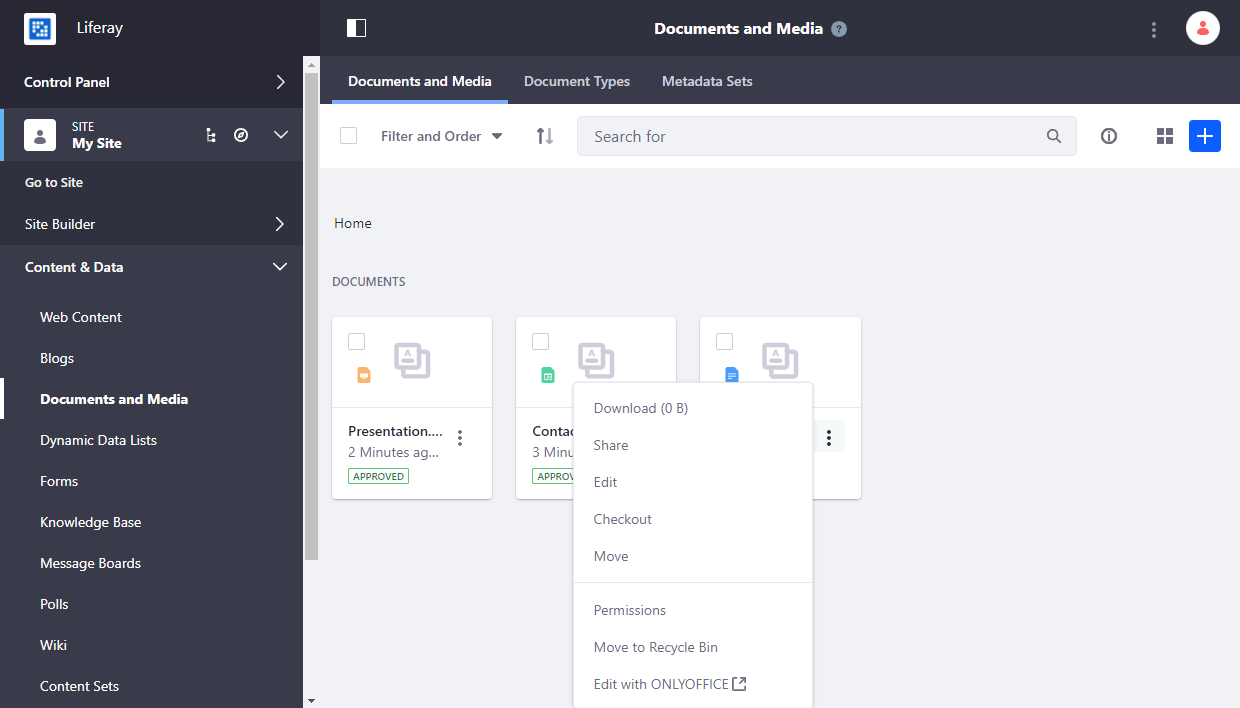

To edit a file:
- Find the needed file in the Documents and Media section.
- Click the document.
- In the opened menu, click the Edit in ONLYOFFFICE button.


To edit a form:
For the .oform files, the Fill in form in ONLYOFFICE option is available. The resulting document will be saved in a PDF format.
To fill in a form:
- Click the More icon to the right of the .docxf file.
-
Choose the Fill in form in ONLYOFFICE option.
To create a fillable form and restrict file editing by other users:
- Click the More icon to the right of the .docxf file.
-
Choose the Create form using ONLYOFFICE option.